Removing windows and installing Arch Linux
Daan Geurts-Doorenbos • August 27, 2019 | Updated • September 18, 2019 14:40
linux arch linuxIn the previous part you could've read which 'custom' laptop I've ordered and you can see the unboxing here so head back if you are interested.
One thing about ordering a 'custom' build laptop is that it doesn't come with a pricy pre-installed OS and that you are free to choose whatever OS you want. In the past I've used Linux distributions like CentOS, Ubuntu, Linux Mint, Arch linux for professional and personal use. One thing I like about Arch linux is that it is highly customizable and it's very lean after first install. The wiki is also fantastic, lots of information about all kinds of linux related stuff. One other thing about Arch is that you do need to configure a lot yourself but that makes you understand how an OS and your computer/hardware works. If one thing breaks you probably know what it is so you can fix it yourself of google with the right terms. For my new BTO laptop I'm going to use Arch linux.
When first booting the machine I'm straight booted into a Windows installer... Wait what? I've ordered this machine without any OS installed but apparently BTO.eu uses Windows to check if all hardware is working and setup properly but they didn't wipe my SSD after that. So first things first and I went straight into the BIOS by pressing F2 upon boot and changed the boot order to first boot an USB. In the meantime I've created, with my Mac Mini, a bootable USB with Arch linux on it like this:
$ sudo dd if=archlinux-2019.08.01-x86_64.iso of=/dev/rdisk3 bs=1mwhere 'disk3' is my USB drive. This can be different on your system. So when I rebooted my machine I went into the Arch linux live environment. I will folow the installation instruction from the excellent Arch linux wiki
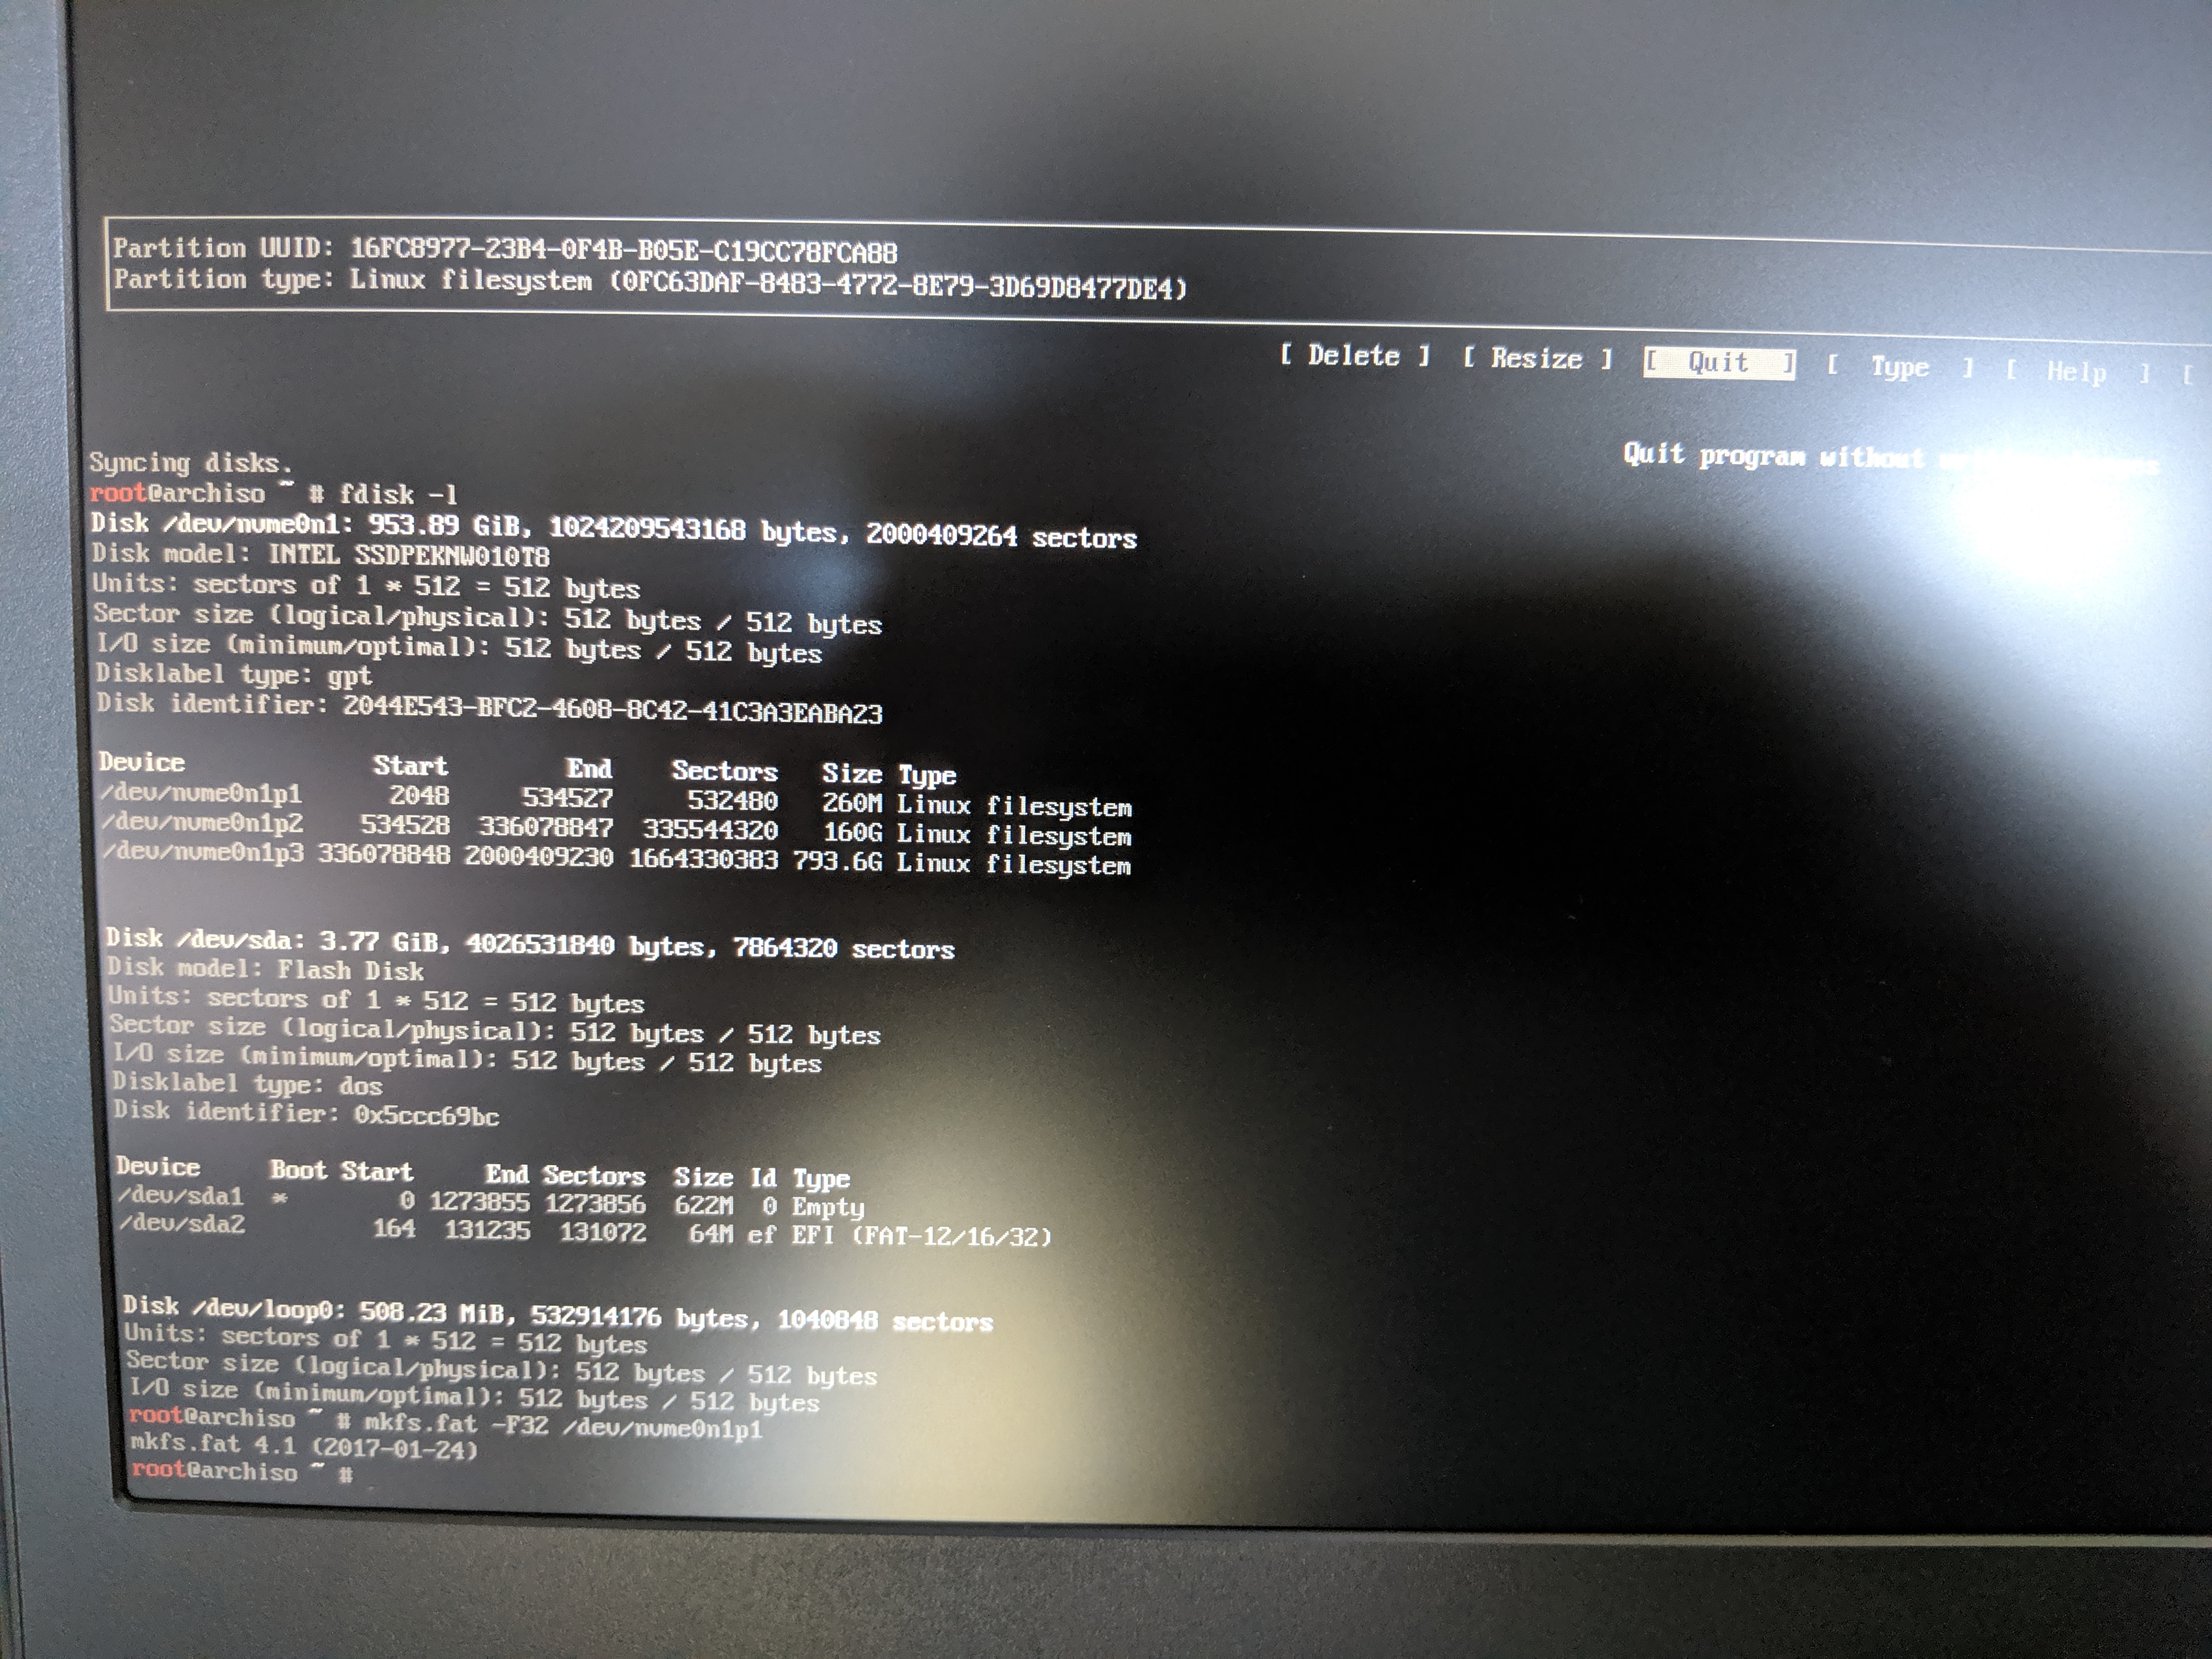
I used cfdisk to remove all Windows partitions and completely wipe the SSD, used efibootmgr to remove Windows Boot manager. After that removing USB and rebooting to make sure the machine is completely useless.
Put the USB back and booted again. Now I'm going to follow the installation instructions.
First steps:
Verifying boot mode by using this command:
-
$ ls /sys/firmware/efi/efivars - if there is output UEFI mode is enabled
Connect to the internet
-
$ ip link - dhcpcd is automaticaly enabled for wired connection for live environment
-
$ ping google.com - If there are packets received you are connected to the internet
Updating system clock
-
$ timedatectl set-ntp true
Partition disks
- I've used cfdisk to partition my SSD with the following scheme:
- /mnt/efi 260MB
- /mnt 160GB
- /mnt/home remainer of drive
Formatting partitions
-
$ mkfs.fat /dev/nvme0n1p1
$ mkfs.f2fs /dev/nvme0n1p2
$ mkfs.f2fs /dev/nvme0n1p3

Mounting file system
-
$ mkdir /mnt/efi
$ mkdir /mnt/home
$ mount /dev/nvme0n1p1 /mnt/efi
$ mount /dev/nvme0m1p2 /mnt/
$ mount /dev/nvme0m1p3 /mnt/home
Mirrors
- I rearranged the mirrors so the Dutch mirrors are on top. I'm living in the Netherlands so the download speed should be optimal by giving Dutch mirrors higher priority
Installing Arch linux
-
$ pacstrap /mnt base base-devel
Generating fstab file
-
$ genfstab -U /mnt >> /mnt/etc/fstab
Chroot into system
-
$ arch-chroot /mnt
Setting timezone
-
$ ln -sf /usr/share/zoneinfo/Europe/Amsterdam /etc/localtime
$ hwclock --systohc
Localization
- I've uncommented en_US.UTF-8 UTF-8 nl_NL.UTF-8 in /etc/locale.gen
-
$ locale-gen $ touch /etc/locale.conf - Added LANG=en_US.UTF-8 to this file
Network configuration
-
$ touch /etc/hostname - Added laptop-daangeurts to this file
-
$ touch /etc/hosts - Added this the file
- 127.0.0.1 localhost
- ::1 localhost
- 127.0.1.1 laptop-daangeurts.localdomain laptop-daangeurts
Root password
-
$ passwd
Boot loader
- First I wanted to go for Efistub but after reading the documentation I didn't felt ready to use it so I went for the good old GRUB because it just works.
Rebooting
- exiting from chroot
-
$ exit $ umount -R /mnt $ reboot - Removing USB